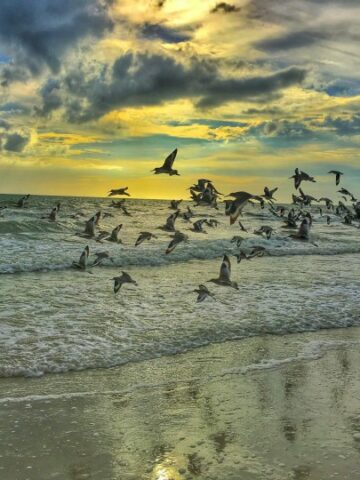

North America boasts some of the most distinct and fascinating species of seabirds, thriving in its varying coastal habitats.
These seabirds are an integral part of the marine ecosystem. Their feeding habits help control and maintain the population of smaller marine creatures, all while balancing the entire food web at large.
In this comprehensive guide, we will explore the world of North American seabirds, from their physical characteristics and behavior to their habitats and nesting habits.
Top 10 Sea Birds of North America
In this section, we will explore the top ten sea birds commonly found in North America.
Albatrosses

 Albatrosses are large seabirds known for their immense wingspan, which can go up to 11 feet. They are expert gliders and can travel long distances across open oceans.
These birds are most commonly seen along the Pacific Coast of North America.
The most common species include the Black-footed Albatross, Layson Albatross, and the Short-tailed Albatross.
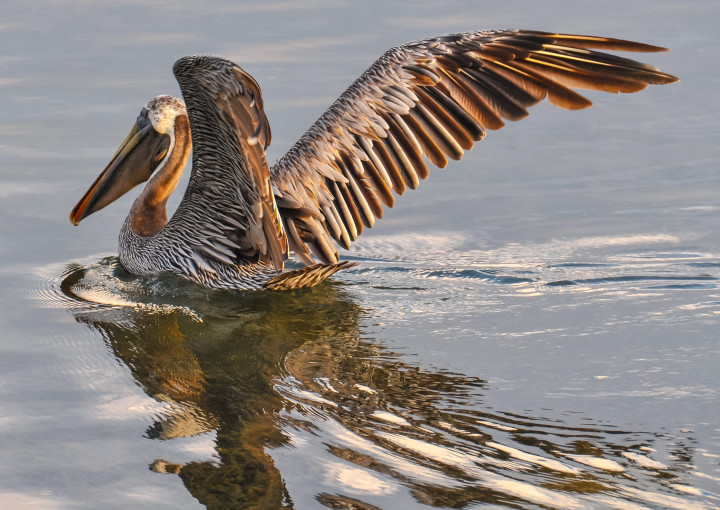
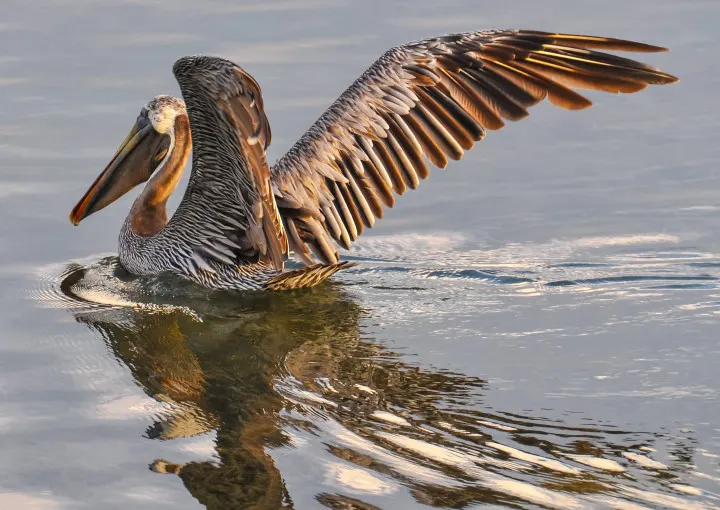
Pelicans
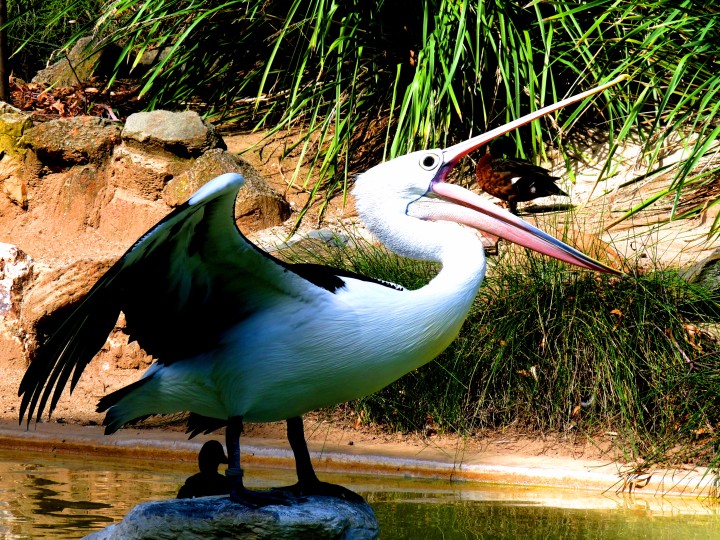
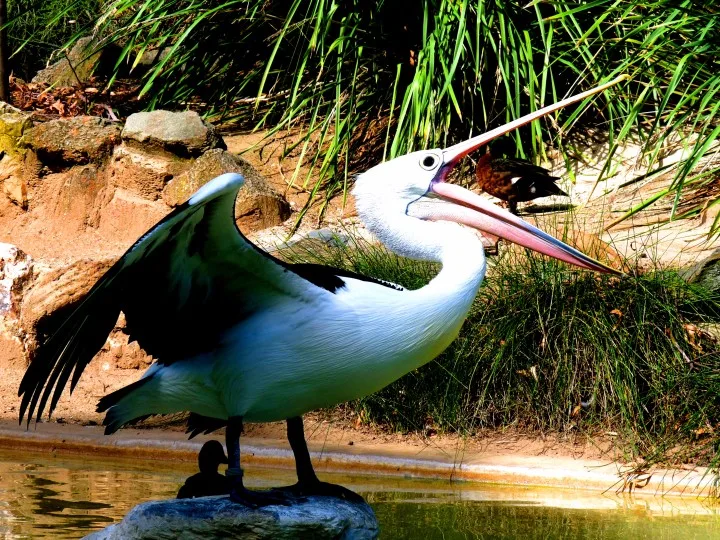 Pelicans are super easy to spot thanks to their extensive bills and expandable throat pouches used for catching fish.
There are two species of pelicans found in North America: the American White Pelican and the Brown Pelican. The White Pelican is mainly found around inland water bodies, while the latter prefers the coastal areas and the seas.
Cormorants

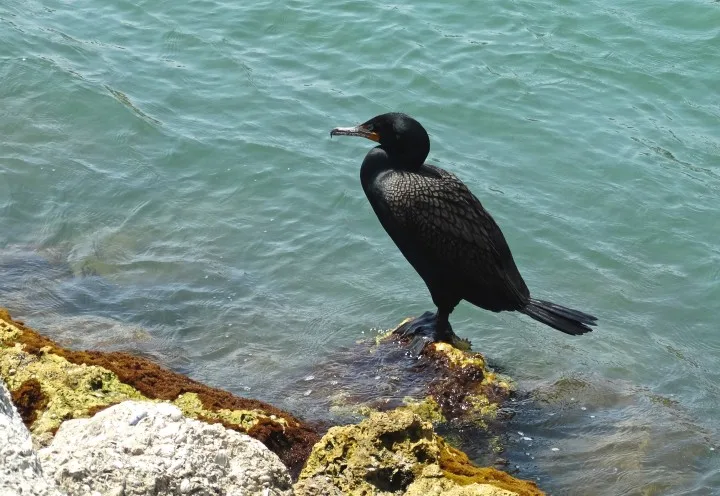 Cormorants have long necks and slender bodies. They are excellent swimmers and dive underwater to catch fish.
The two common species found in North America are the Double-crested Cormorant and the Great Cormorant.
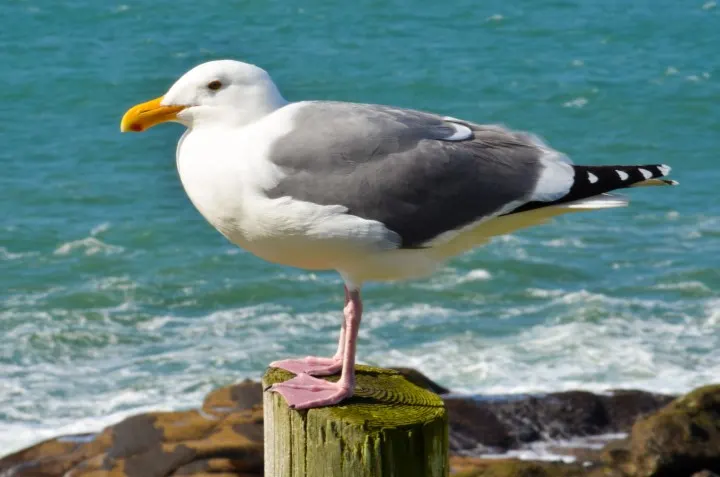
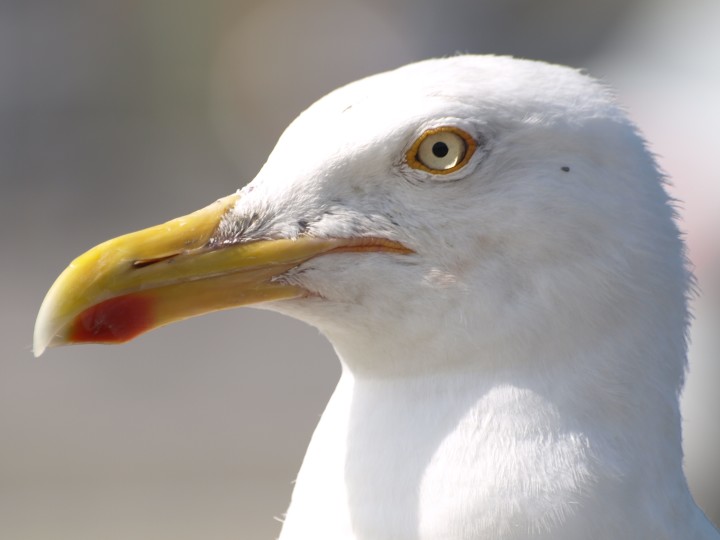
Gulls and Terns

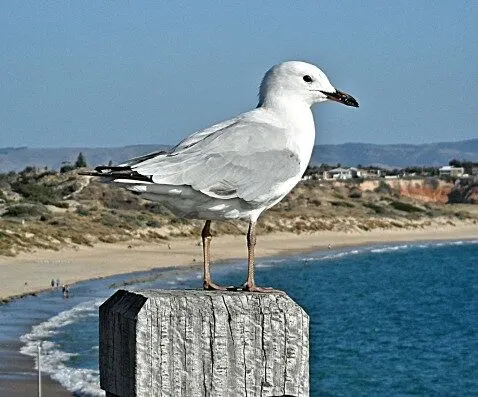 Gulls are larger and have a heavy appearance than terns— the latter is sleek and more streamlined.
These birds are found in various marine habitats across North America and play a crucial role in controlling the population of small marine organisms.
Petrels and Shearwaters
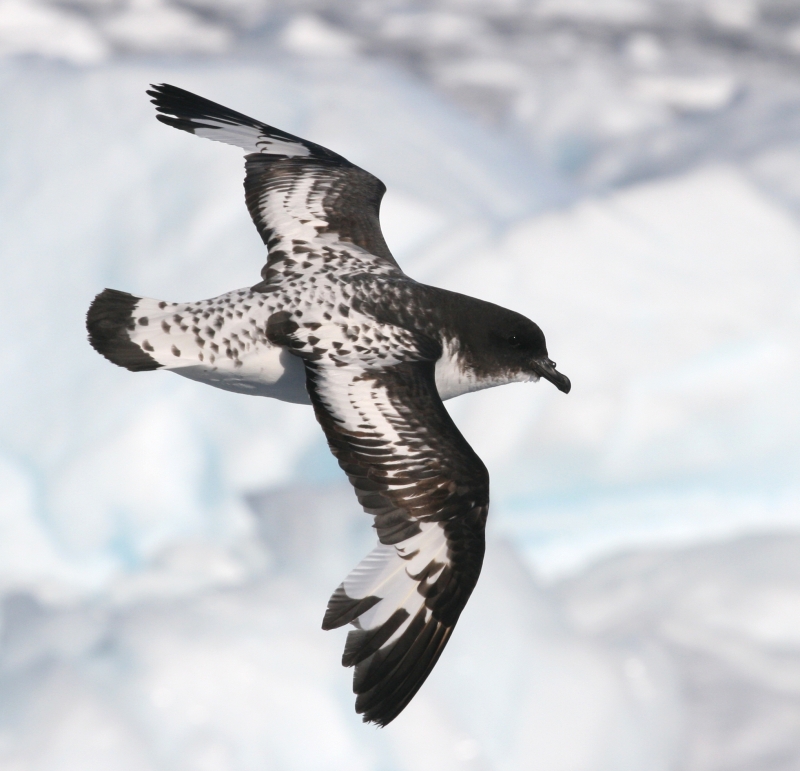
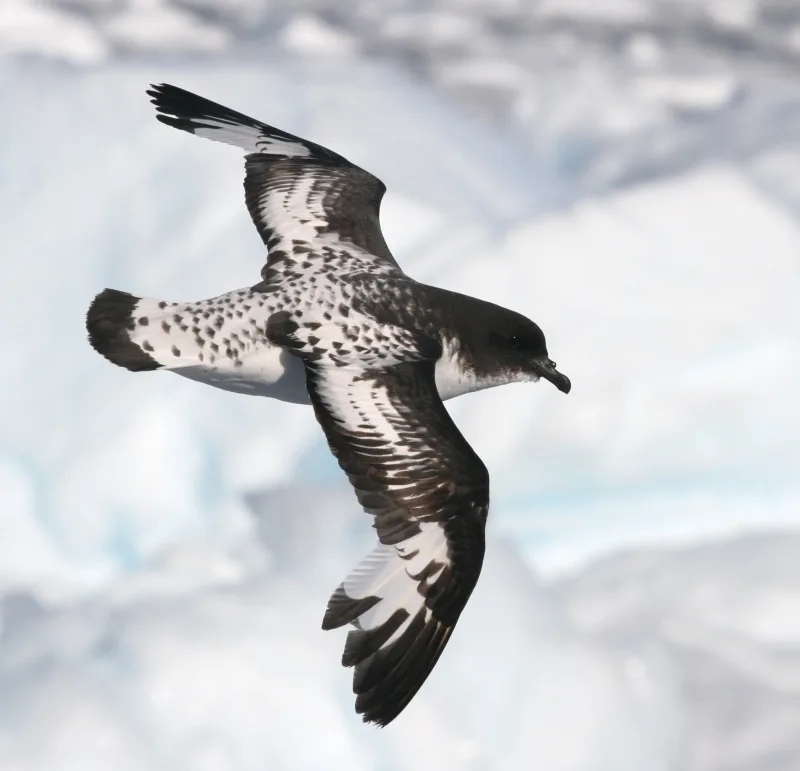 Petrels and Shearwaters are medium-sized seabirds with tube-shaped noses, long wings, and dark plumage. These birds are well adapted to constant flying and gliding.
They can be found off the coastlines of North America, where they feed on fish, squid, and crustaceans.
Puffins

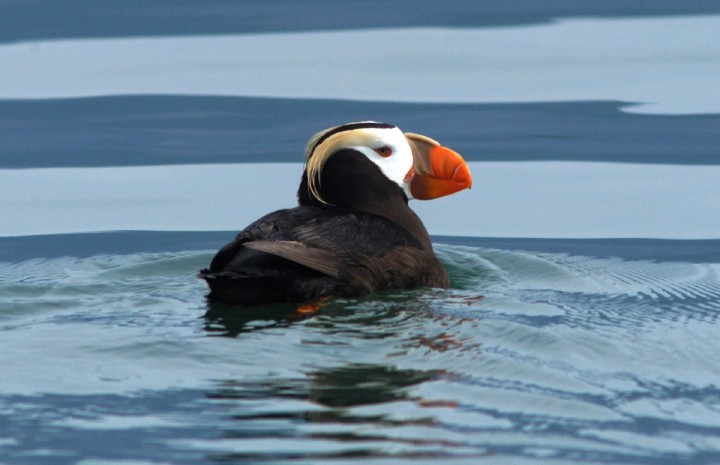
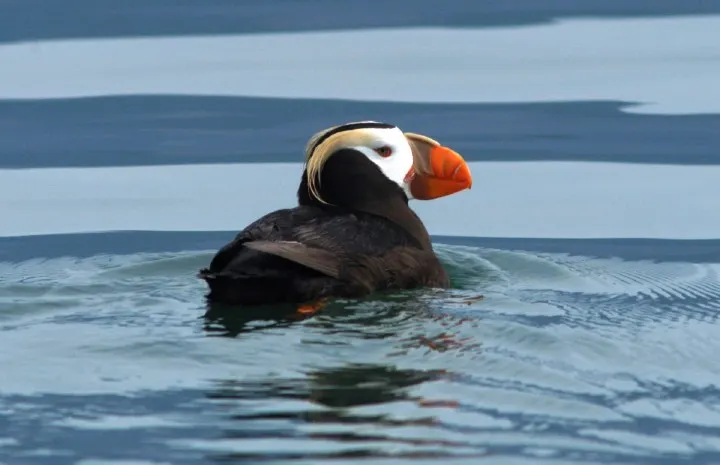
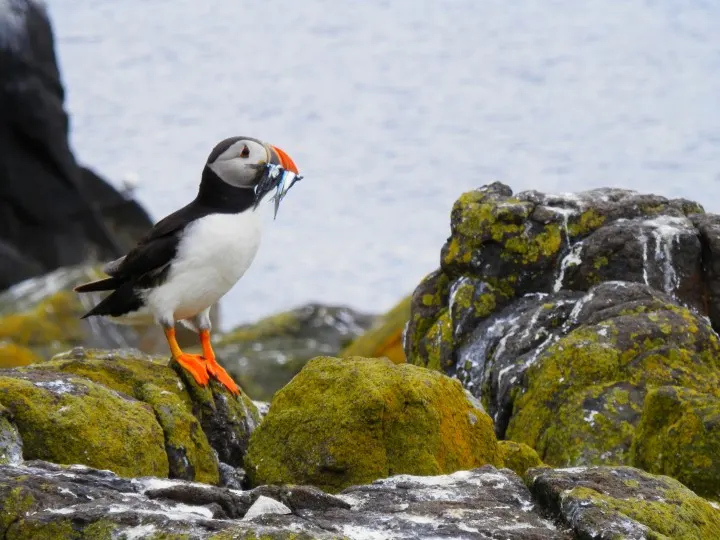 Puffins are small seabirds with a distinctive, brightly colored beak. They are known as the “clowns of the sea” due to their amusing appearance.
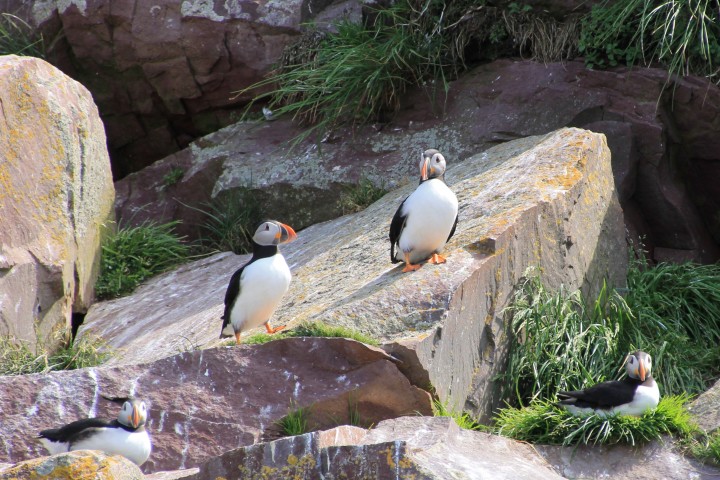
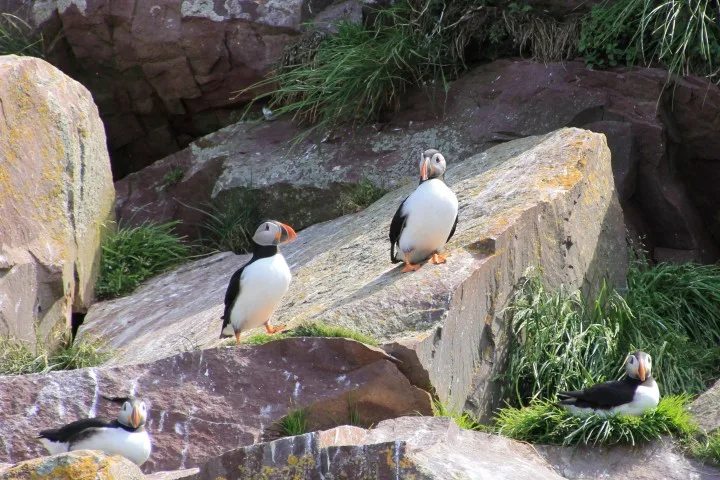
In North America, you can find Atlantic Puffins off the coast of New England and Eastern Canada.
Murres
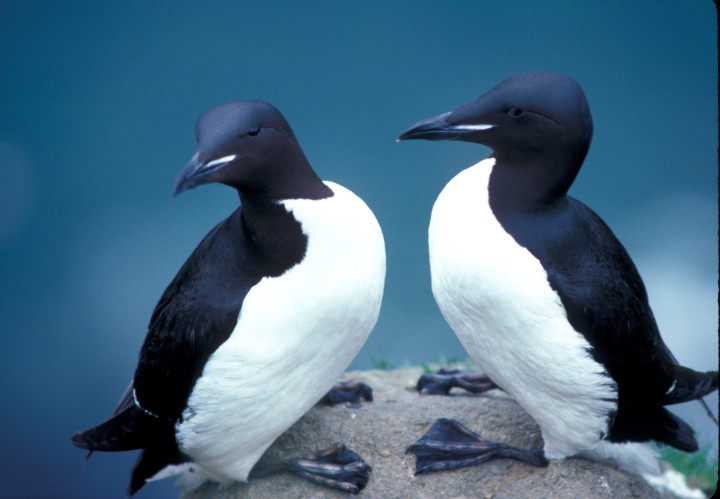
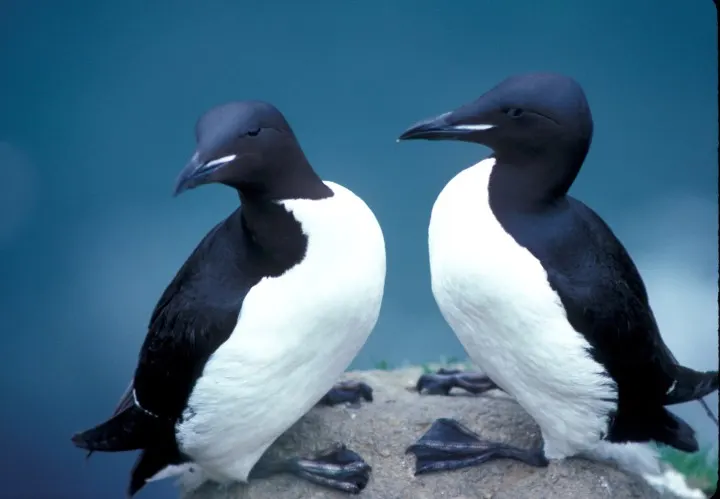 Murres are medium-sized seabirds with a streamlined body and elongated bill. They are excellent divers and can nest on rocky cliffs along the North American coastline.
The two species found in North America are the Common Murre and the Thick-billed Murre.
Auks And Auklets

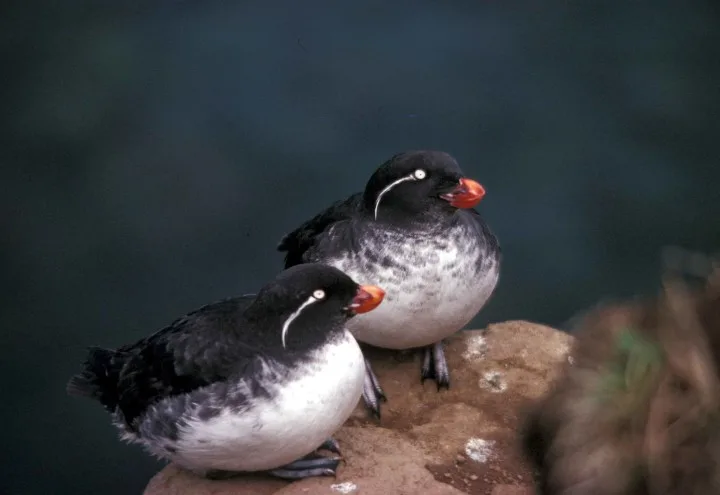 Auks and Auklets are small and stout seabirds adapted to cold waters. They are efficient swimmers and divers who primarily feed on small fish.
In North America, these birds can be found in the Arctic waters and the rocky coastlines of the Pacific Northwest.
Gannets and Boobies
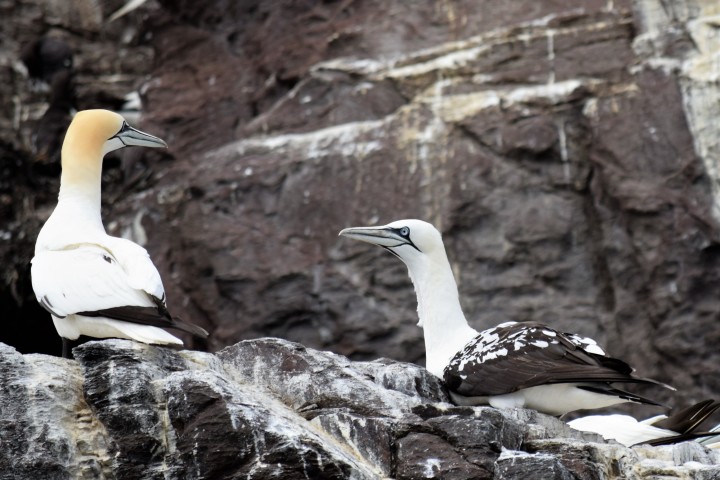
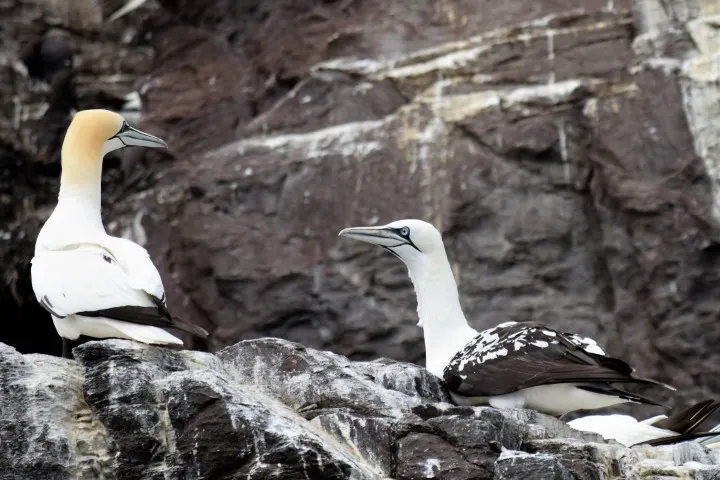 Gannets and Boobies are relatively large seabirds known for their incredible plunge dives. They have sharp, serrated bills and long pointed wings.
In North America, Northern Gannets can be spotted along the Atlantic Coast, while various species of boobies can be found in the Gulf of Mexico and the Caribbean.
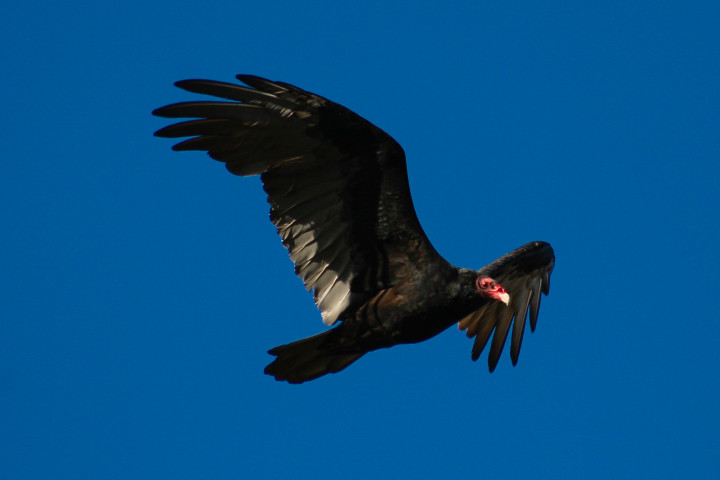
Frigatebirds

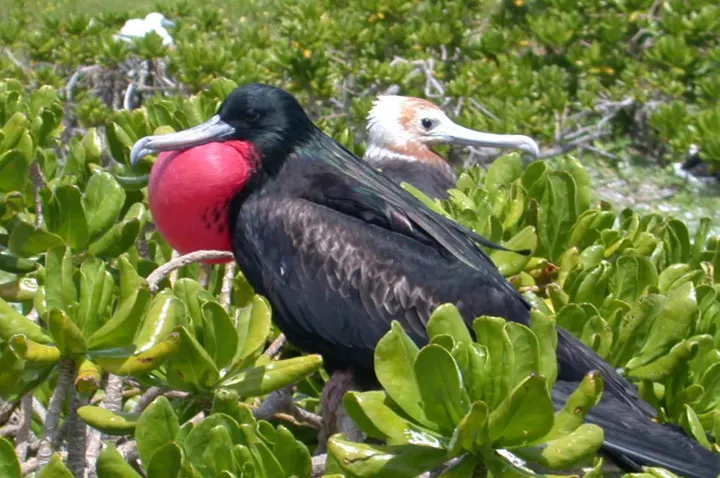 Frigatebirds are aerial masters with distinctive forked tails and wingspans reaching up to 7 feet.
They are known for their acrobatic displays and pirate-like behavior of stealing food from other seabirds. In North America, Magnificent Frigatebirds inhabit the coastal regions of Florida and the Gulf of Mexico.
Identifying Features and Adaptations
Bill Structure
 The bill of a seabird plays a crucial role in catching prey and as a first line of defense. Many North American seabirds have evolved distinct bill structures.
For example, gulls have strong, slightly hooked bills that enable them to grasp and tear fish. On the other hand, terns have pointed, slender bills designed to snatch fish out of the water swiftly.
Webbed Feet
 Webbed feet are reasonably standard among North American seabirds. This adaptation allows them to effectively paddle through the water, assisting in swimming, diving, and hunting.
This essential adaptation is found in many seabird species, including gulls, ducks, and pelicans.
Waterproof Feathers
Seabirds must stay dry and contain body heat, especially during countless hours in the cold ocean. Waterproof feathers are a godsent adaptation for them.
Their unique feathers repel water, keeping them dry and insulated. Interstingly, many seabirds possess a uropygial gland at the base of their tail that secretes an oily substance.
This substance, when applied to feathers through the process of preening, further aids in waterproofing their plumage.
Wingspan
 A seabird’s wingspan proves critical during long flights and foraging over the vast ocean.
North American seabirds exhibit varying wingspans suited to their hunting styles.
Albatrosses, for instance, have enormous wingspans that enable them to glide for long distances across the ocean without spending much energy. This adaptation helps them forage over vast areas in search of food.
Contrastingly, smaller seabirds like puffins have shorter wings adapted for quick and short flights and dives, allowing them to hunt fish efficiently in coastal waters.
Birdwatching Regions and Hotspots
California
 California is a haven for birders, boasting rich ecosystems that attract numerous bird species. Coastal areas in California, in particular, are hotspots for birds such as the Brown Pelican, Western Gull, and the endangered Snowy Plover.
In addition, inland areas host birds such as the California Quail, the state’s official bird, and Oak Titmouse.
Alaska
 Alaska attracts birders with its remote and pristine wilderness, providing a unique opportunity to observe birds rarely seen on the mainland. For instance, Pribilof Islands are home to millions of birds.
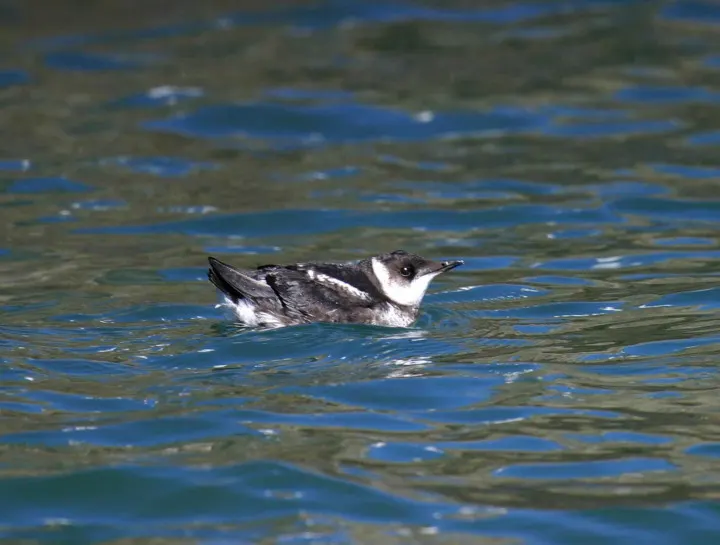
Common species found in Alaska include the Tufted Puffin, Kittlitz’s Murrelet, and the Marbled Murrelet.
Canada
 Canada features numerous birdwatching locations, thanks to its large geographical area and varying climates that support a wide species of seabirds.
In Newfoundland and Labrador, the Atlantic Puffin can be spotted along the coastline, whereas British Columbia is home to the endangered Marbled Murrelet.
Additionally, the Canadian Arctic allows birders to observe migratory birds such as the Red Phalarope and the Arctic Tern during the summer months.
New Jersey
 New Jersey offers a myriad of birdwatching opportunities along its coastline and within its wetlands and forests. The Cape May Peninsula is deemed one of the premier birdwatching destinations in North America.
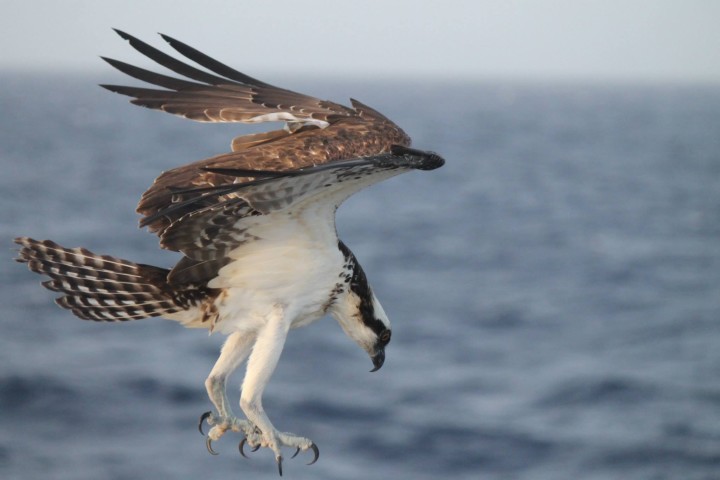
Common seabirds sighted in New Jersey include the Osprey, Common Tern, Double-Crested Cormorant, and Red Knot.
Oregon

 Oregon is famous for its diverse natural landscapes, home to many bird species. Along the Pacific coastline, birders may spot species such as the Marbled Murrelet, Common Murre, and Tufted Puffin.
Diet and Feeding Behaviors
Fish
Many seabirds of North America feed primarily on fish. For instance, the Atlantic Puffin is known for catching several fish simultaneously. Similarly, Common Terns feed on small fish, typically less than 7 inches long.
Crustaceans
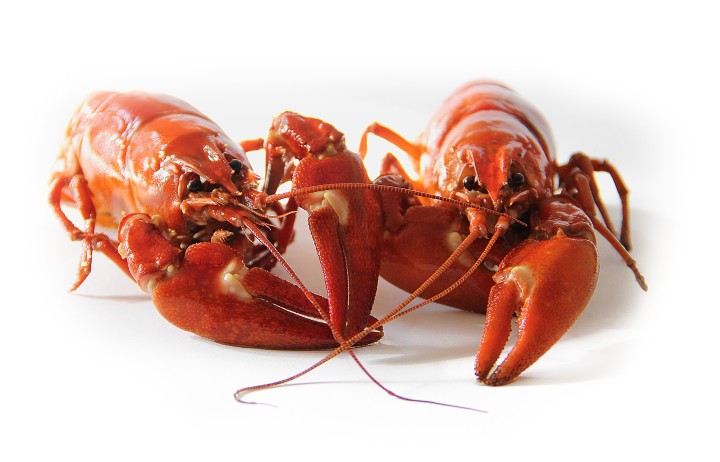
 Crustaceans are another essential food source for seabirds of North America. Gulls, for example, feed on small crabs and other crustaceans along the shoreline. The Reddish Egret, found in coastal areas, uses a unique hunting strategy. It spreads its wings to create shade, which attracts crustaceans and smaller fish – enabling it to feast on them with relative ease.
Squid
Squids are a significant food source for larger species, such as the Albatross and the Shearwater. The Sooty Shearwater feeds on fish and squid, relying mainly on the latter when fish are scarce.
They employ techniques such as “surface seizing,” wherein they snatch prey from just below the water’s surface without fully diving.
Anchovies
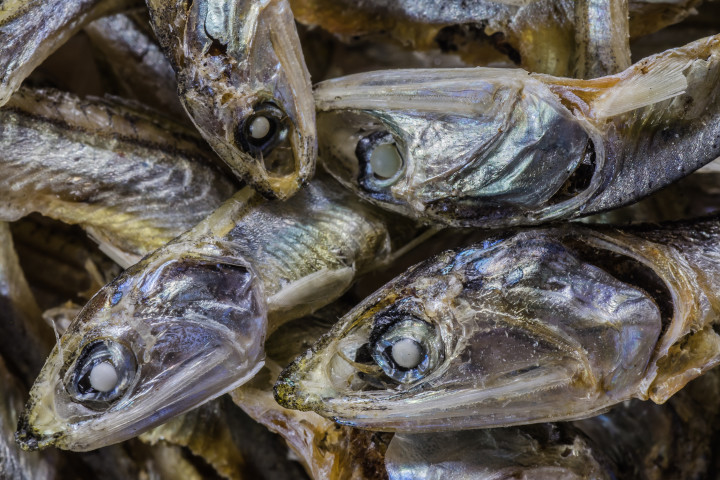

Anchovies are an abundant and critical food source for many seabirds along North America’s coasts. Pelicans, for example, have been observed plunge-diving from considerable heights to catch anchovies and other small fish.
The Brown Pelican, specifically, uses its large bill and pouch to scoop up schools of anchovies. Similarly, the elegant Terns are known to have a diet heavily based on anchovies, making these small fish a vital resource for these seabirds.
Breeding and Nesting Habits
Many seabirds in North America prefer to breed and nest on rocky coasts, as these environments provide some protection from predators and harsh weather conditions. The varying and rugged terrain, combined with the proximity to food sources, makes these areas well-suited.
One notable example is the Common Murre, which is known to lay its eggs on narrow cliff ledges and steep crevices. Their peculiar, pear-shaped eggs are well adapted to the environment, preventing them from rolling off the ledges.
Another species that thrives on the rocky coastlines is the Pelagic Cormorant. This bird constructs its nest by layering seaweed, mud, and grasses on flat rocky surfaces or the sides of cliffs.
Pelagic Cormorants prefer to be close to their feeding grounds, usually rich in fish and invertebrates. They are known for their distinctive dive-fishing style, making them well-suited for coastal environments.
In addition to these examples, other species commonly found nesting and breeding along rocky coasts include Puffins, Black-legged Kittiwakes, and various species of Terns.
Conservation Efforts
With the incredible diversity of sea birds in North America, several organizations and initiatives have stepped up to protect and conserve these species, including the American Bird Conservancy, Cornell Lab, and the American Birding Association.
These groups work in tandem with government bodies, scientists, and bird enthusiasts on research, education, and policy formation to improve the state of these avian species.
Endangered species of seabirds face numerous threats such as habitat loss, pollution, invasive species, and climate change. A global assessment of seabird conservation status highlights the importance of tackling these issues on a broader scale.
American Bird Conservancy
The American Bird Conservancy (ABC) strongly advocates bird conservation, working across the Americas to conserve bird populations and their habitats.
Cornell Lab
The Cornell Lab, a renowned ornithology institution, plays a crucial role in seabird research, conservation, and education.
They offer training programs, science projects, and online resources to share information about these birds. Their All About Birds online guide offers detailed conservation status assessments.
American Birding Association
Lastly, the American Birding Association (ABA) promotes birding, birdwatching, and bird identification skills.
They contribute to conservation efforts by engaging and inspiring the public to become better informed and take action for bird protection.
Through the combined efforts of these organizations, the plight of endangered sea birds is being addressed.
However, continued support and investment in conservation programs are necessary to ensure these vital species remain integral parts of North America’s vibrant ecosystems.
Our team is composed of pet care professionals, veterinarians, and pet owners. To date, we’ve conducted thousands of hours of research to publish the most accurate pet information.
Most of the writers on our site are vets with 10+ years of clinical experience, ranging from small practice, to equine practice, academia, and surgery. Our goal is to help every pet owner get the information they seek about their dear companions.
